Designed around airflow
The tapered primary chamber and transfer slit form the core of the Dual Plenum concept. Final airflow balance depends on the complete manifold geometry and operating conditions.

A two-chamber intake platform for serious fabrication. Start with our DIY kit, or choose an engine-specific manifold.

A tapered primary chamber feeds a secondary pressure box. The design aims to distribute air more evenly across the runners, while giving the fabricator freedom to package the intake around the engine bay.
The tapered primary chamber and transfer slit form the core of the Dual Plenum concept. Final airflow balance depends on the complete manifold geometry and operating conditions.
Position the cone to suit the boost-pipe entry and available space. Front or rear entry and left or right placement give the DIY builder practical flexibility.
6082 aluminium components, end covers, a slit support rod and assembly instructions provide a defined starting point for machining, fitting and welding.
The design objective is improved distribution—not a guaranteed power increase. Output, knock margin and reliability depend on the engine, installation and calibration; validate the finished system on your application.
The MWS Dual Plenum intake manifold is designed to distribute incoming air as evenly as possible between all cylinders.
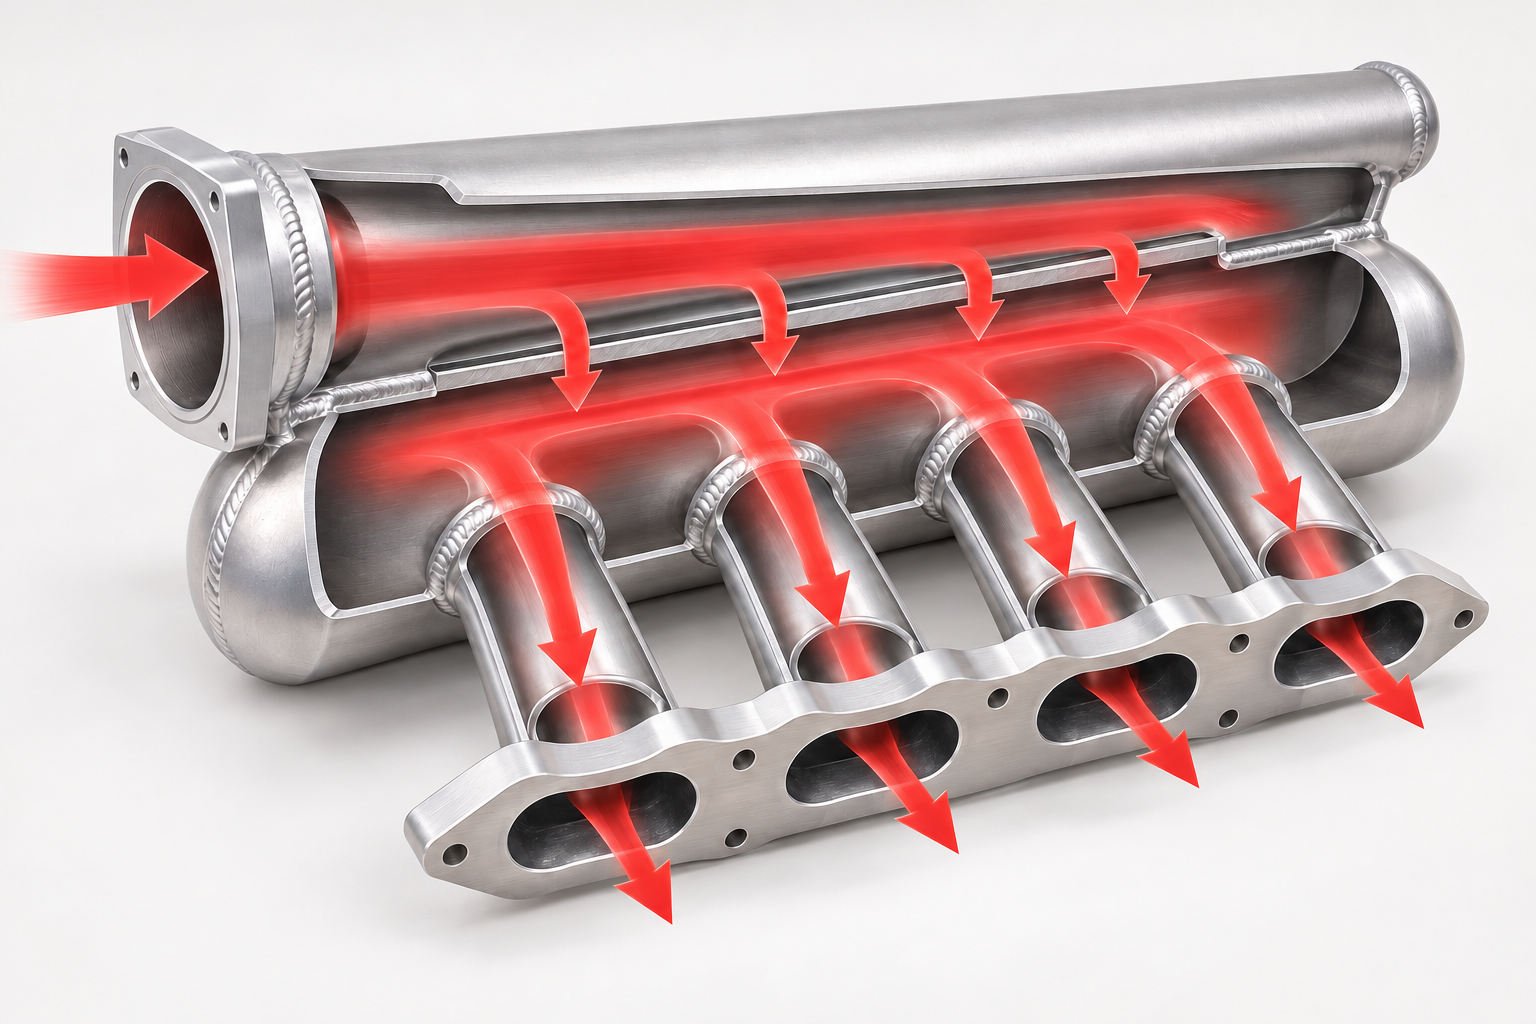
Bernoulli’s principle describes the relationship between flow speed and pressure: as air speeds up, its static pressure decreases; as it slows down, pressure can be recovered.
In the Dual Plenum design, the dimensions of the tapered chamber and the transfer slit control how air is distributed into the pressure box. The aim is to provide the most even air supply possible to all cylinders.
Incoming air first enters the tapered chamber, whose sizing draws on Bernoulli’s principle.
The taper and the connecting slit work together to guide air into the second chamber—the common pressure box.
Air then flows through the velocity cones and runners towards the cylinders. The objective is to reduce differences in cylinder-to-cylinder air delivery.
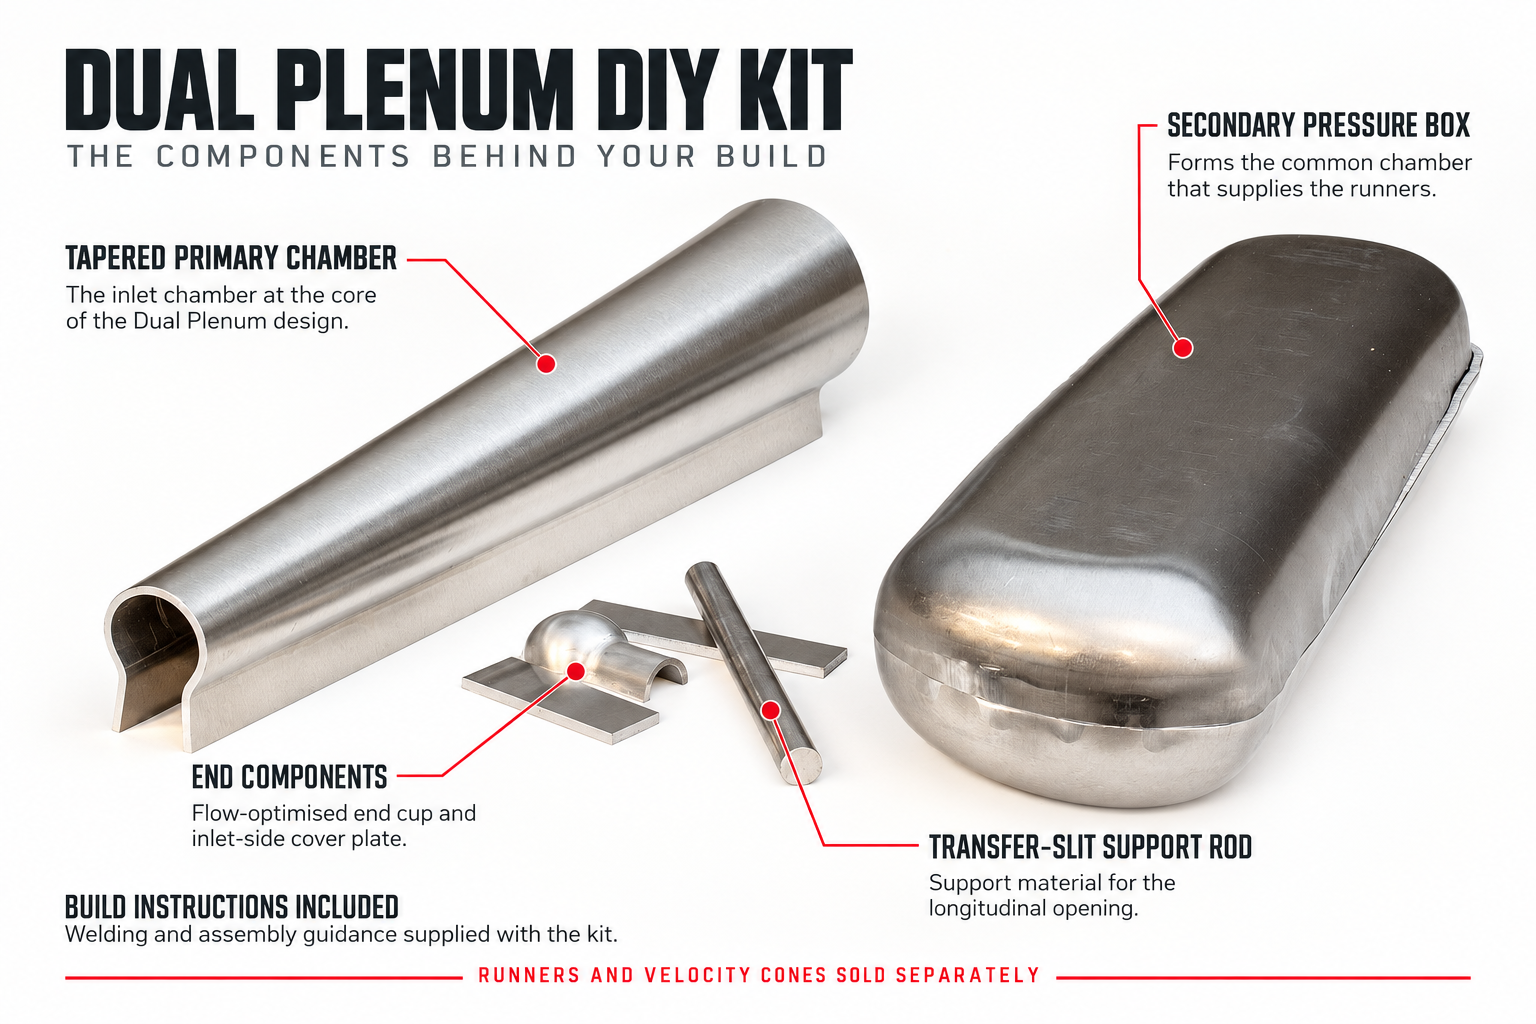
The 440 mm kit is a fabrication starting point made from 6082 aluminium—not a ready-to-install intake manifold.
The kit does not include intake velocity cones (bellmouths / imukartiot) or runners. Choose these for your engine and layout. The engine flange and throttle-body interface are also selected separately.
The 440 mm version is intended for 3- and 4-cylinder applications and V6/V8 builds. V6/V8 applications require two kits, one per cylinder bank. Confirm suitability and the current delivery contents before ordering.
You can use the runner section of your original intake manifold if its material, construction and dimensions are suitable for the conversion.
Check runner spacing, length, alignment and available space before cutting or adapting anything. This is not a universal bolt-on conversion; original plastic runners cannot be welded directly to the aluminium kit.
Alternatively, select runners or runner tube from the MWS range and build the assembly around an intake flange suited to your engine.
Match the runner profile, length and port interface to the application. Engine-specific runner products are not universal parts—check the listed fitment before ordering.
We recommend suitable velocity cones or flow-entry rings at the runner inlets to create a smooth transition from the pressure box into the runners. Runners and velocity cones are not included in the DIY kit and must be purchased separately.
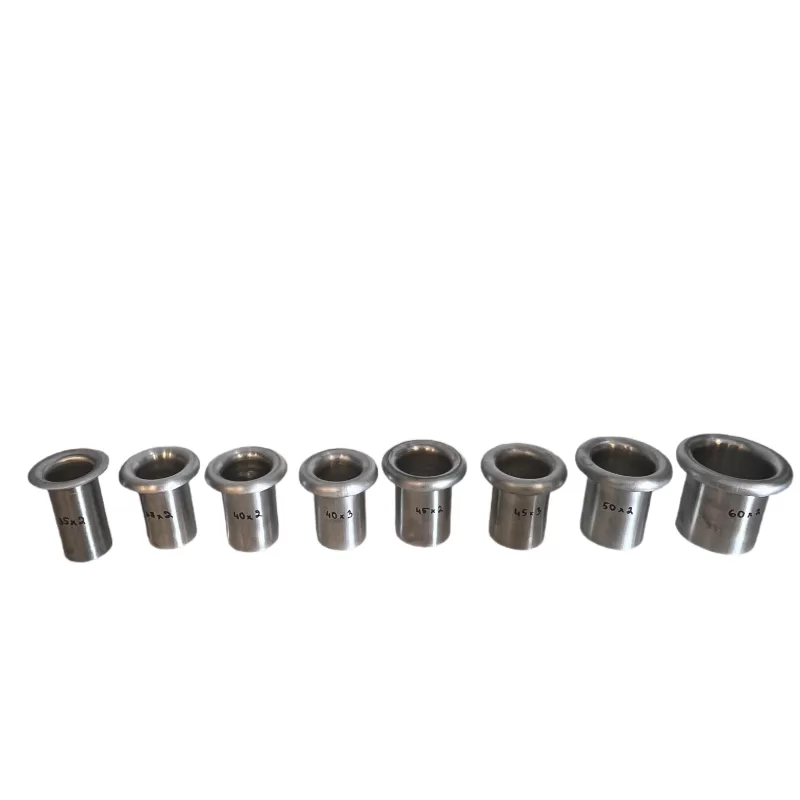
Smooth bellmouth entries, selected to suit the runner geometry.
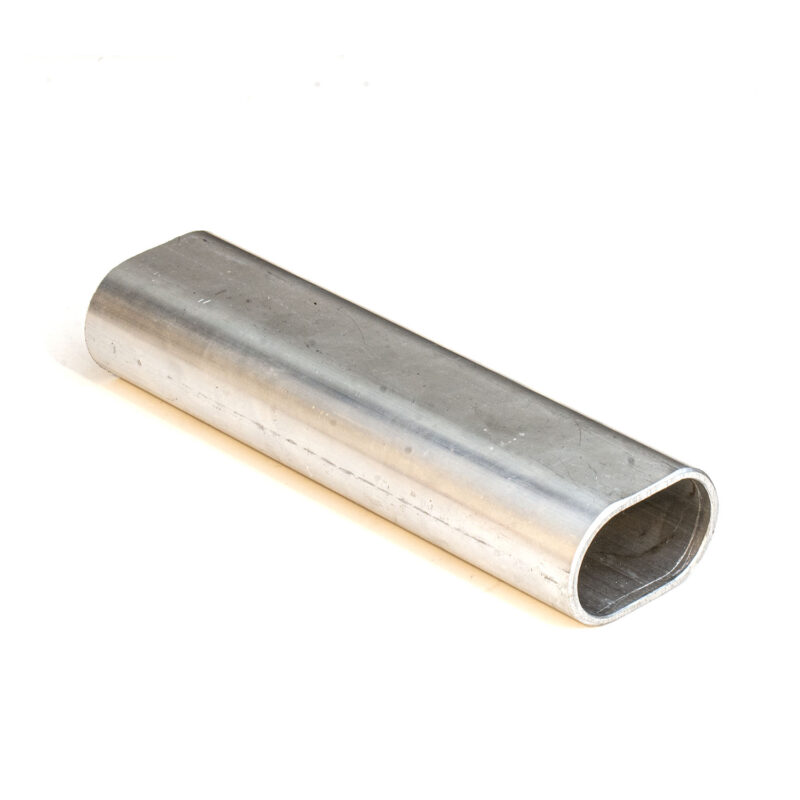
A separate fabrication component for a custom runner layout.
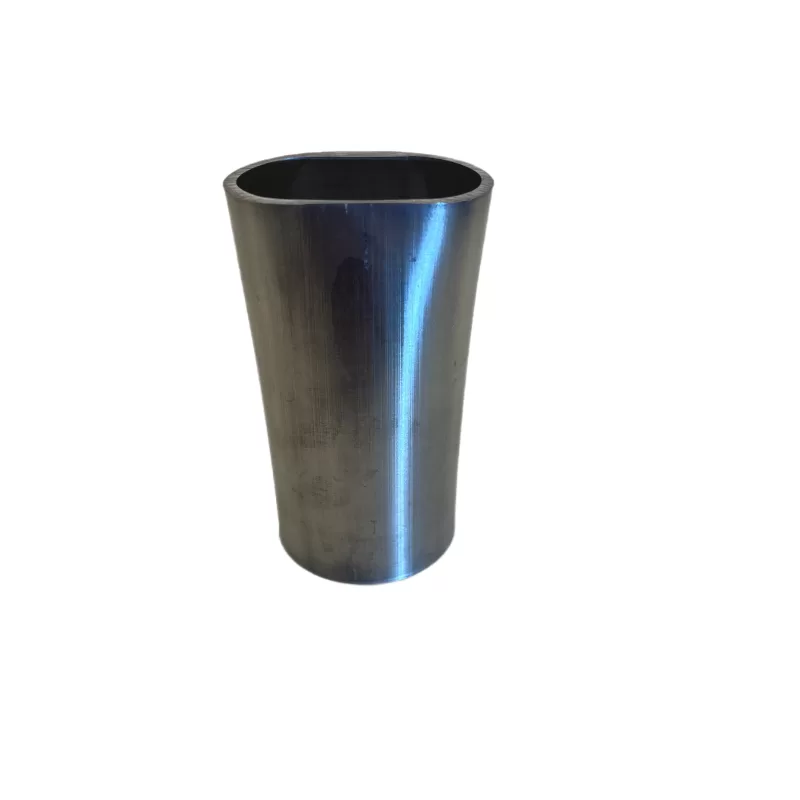
Type 1 for Toyota 3SGTE Gen3 shown. Check the specified engine fitment.
Real MWS photographs illustrate the components, internal arrangement and an assembled example. These are reference views—not a step-by-step welding manual or a record of one continuous build.

01 / PLAN & PREPARE
Choose inlet orientation, engine flange and runner strategy. Check space, throttle-body position and all required connections before fabrication.
Photo: unassembled kit components.

02 / FIT & CHECK
Trial-fit the runners and separately selected velocity cones. Check entry clearance and alignment, then follow the supplied instructions for the slit, supports and welding sequence.
Photo: open/cutaway example showing the interior—not the supplied kit.

03 / COMPLETE & VALIDATE
Complete the assembly and application-specific connections. Have the finished manifold checked for leaks, fitment and function, then validate engine operation and calibration.
Photo: exterior of a fabricated example with additional components.
Use these dimensions for initial packaging. Confirm the complete assembly, runners and connections before fabrication.
| Material | Aluminium 6082 |
|---|---|
| Pressure box · H × W × L | 90 × 120 × 440 mm |
| Pressure-box wall | 4 mm |
| Cone length / wall | 380 mm / 3 mm |
| Inlet outside diameter | 76 mm |
| Pressure box / cone volume | 3.30 L / 0.95 L |
| Combined volume | 4.25 L |
The Mitsubishi Evo I–IX 4G63 assembly combines an engine-specific CNC-machined flange, four velocity cones, four profiled runners, two plenum chambers, four AN-4 connections, one AN-8 connection and a fuel rail.
DBW throttle-body flange not included. Select the interface for your application separately, even where it is shown in the product photographs.

Prefer an engine-specific assembly? Explore the finished Dual Plenum range alongside the universal DIY kits.
Check fitment, included components and current availability in the shop.
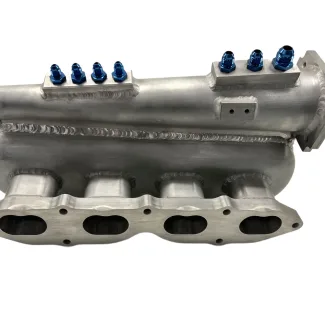
Check fitment, included components and current availability in the shop.
Check fitment, included components and current availability in the shop.
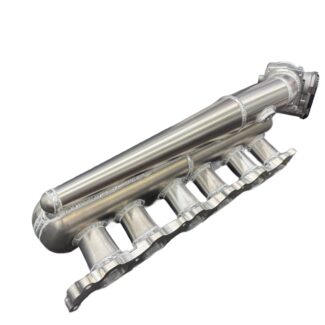
Check fitment, included components and current availability in the shop.
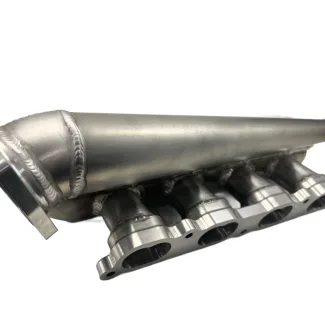
Check fitment, included components and current availability in the shop.
Choose the DIY kit when you need control over packaging and have the capability to fabricate the manifold. Choose an engine-specific assembly when the listed application suits your engine. Always check clearances, interfaces and delivery contents.
No. Runners and velocity cones are sold separately. You can adapt a suitable original manifold runner section or select parts from the MWS range. We recommend properly matched velocity cones or flow-entry rings for smooth runner entries.
No. It requires application-specific components, fitting and welding. It is intended for a capable fabricator, not as a direct bolt-on replacement.
There is no universal horsepower figure. The aim is improved air distribution; actual results depend on the engine and complete system. Assess the finished installation through appropriate testing and calibration.
The MWSteel shop holds current prices, availability and ordering details. Follow the product links above, or contact us with your engine, target use, available space and throttle-body choice.